The collection window's List tab
The List tab of the collection window displays your collection as a tabular list, similar to a spreadsheet display. Each record is displayed as a single row. Each column corresponds to a field, and the field names are shown in the header bar of the tabular display.View an example of the List tab of the collection window: |
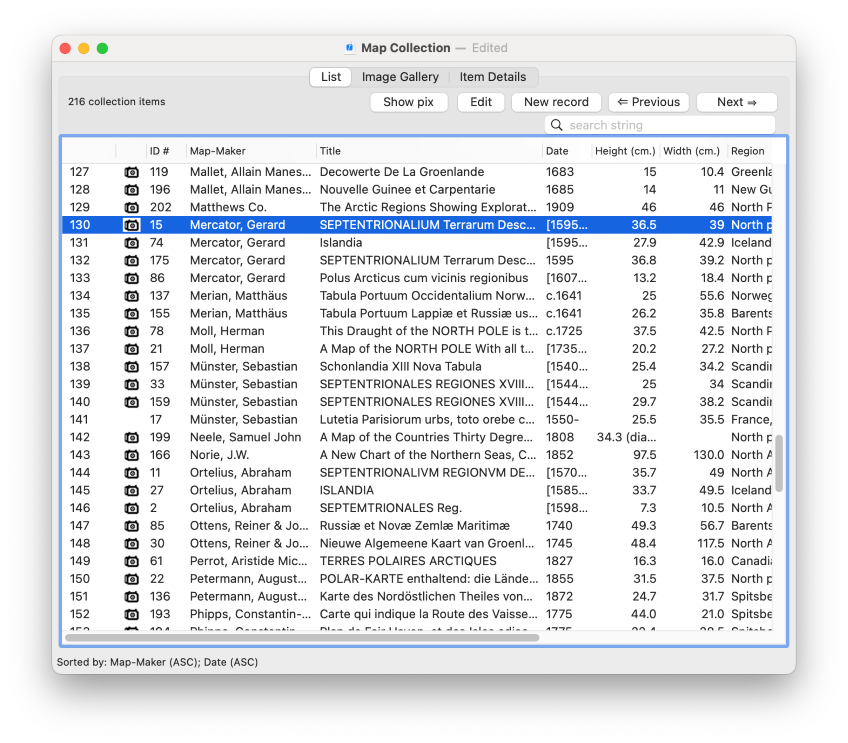
- The first column is a row number, and its values always proceed from 1 to the last number of rows available for display. This row-number helps to give you a sense of where you are positioned in the list, when you have scrolled to somewhere in the middle of a possibly large set of rows. (Note: The largest row number may be less than the total number of records in your collection, if you are currently looking at a subset, rather than at the full collection. See Subsetting for more information about subsets.)
- The second column is reserved for a camera icon (
 ), which is present whenever the record contains at least one image. If the record has no images, this column is blank.
By default, the list view does not show grid lines separating rows and columns. If you want to display grid lines, this can be turned on via a preference: Select Recollector > Preferences from Recollector's menu, choose the Other Preferences tab in the Preferences dialog, and then turn on the Show grid lines in List View check box.
Choose which fields to display in the list, and in what order ... |

Change the width of a column in the list ... |
The thumbnail banner
Click the Show pix button (located above the list's header bar, just to the left of the Edit button), to open the List tab's thumbnail banner. This is an area, above the row-by-row listing, in which thumbnail images for the currently-selected record are displayed.
View the List tab with the thumbnail banner displayed ... |
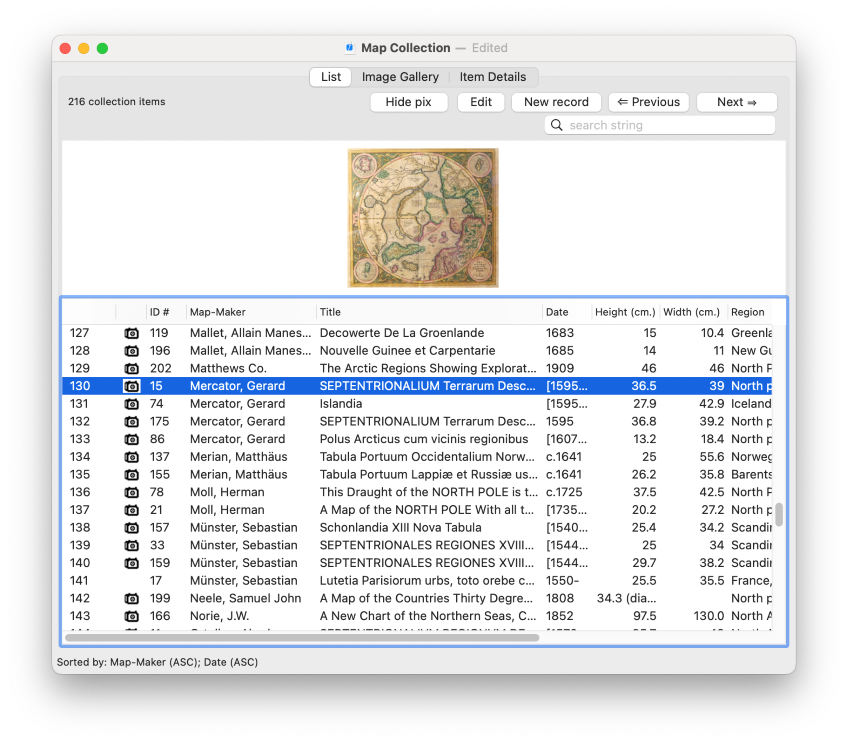
The thumbnail images shown in the banner are clickable. Click on an image to bring up an image window. (See help on Image Windows for more information.)
To turn off the thumbnail banner, click the Hide pix button.
By default, the thumbnail images displayed in the thumbnail banner are scaled to a maximum height of 150 points. If you have many images associated with each item in your collection, then you may find that all the thumbnail images may not fit in the one row of images that is displayed in the banner. You can reduce the scaled size of the thumbnail banner images through a preference: Select Recollector > Preferences from Recollector's menu, choose the Images tab in the Preferences dialog, and then specify a size (in points) for the Image height in List View's Thumbnail Banner. Allowed heights are between 25 and 150.
If a record contains multiple images, normally the thumbnail banner displays all of the images. If the full set of thumbnails doesn't fit in the current width of the banner, a horizontal scrollbar lets you scroll to the right to view any of the thumbnails which are not initially visible. You can choose to display just one image from a record in the thumbnail banner. To do this, select Recollector > Preferences from Recollector's menu, choose the Images tab in the Preferences dialog, and then turn on the Show only one image in the thumbnail banner checkbox. Not only will this help prevent having thumbnails be hidden (because they don't fit in the width of the banner), but it can improve performance when in List View, since as you move from one item to another item, the program will only have to process one image file.
Selecting a record
Click anywhere on a row to select a record. Use the keyboard's up and down arrow keys to move to the previous or next record. Or use the Previous and Next buttons, located above the list at the upper right.
Normally only a single row can be selected, but if you choose Edit > Enable Multi-Record Delete from Recollector's menu, you can select multiple rows, using the standard Mac conventions (<Shift>-click, <Command>-click, click-and-drag, etc.), to select multiple items. Multiple-row selection is intended only for the purpose of deleting multiple rows in a single operation (to avoid having to confirm the deletion of each row separately). All other Recollector functions that operate on items in the List expect only a single row to be selected.
To see the Item Details for a row, select it in the List and click on the Item Details tab. Or select Options > View Item Details (shortcut: ⌘D) from Recollector's menu. Alternatively, you can double-click on a row in the List, and the Item Details for that record will be displayed. Also, just hitting the <Return> key on your keyboard will take you to the Item Details for the currently selected row.
Printing from the List tab
Choose File > Print from Recollector's menu to print the entire tabular list, including all rows and columns - not just those currently visible on-screen. The formatting of the tabular list onto separate printed pages will often result in some columns being broken across more than one page. In addition, just as on-screen, the contents of individual table cells will be truncated if the cell isn't large enough to show its entire text. Consequently, if you want to print out information about your entire collection, consider using File > Print Details for All Entries or File > Generate Printed Report (with Wizard). These choices generate paginated, non-truncating printouts. Though the output from these two commands may be lengthier, in pages, than the tabular printout produced by File > Print from the List tab, the output will almost certainly be more legible and usable. See help on Printing for more information.
Related topics:
The Image Gallery tab
The Item Details tab
Searching
Sorting
Subsetting
Field Profiles
Image Windows
Printing